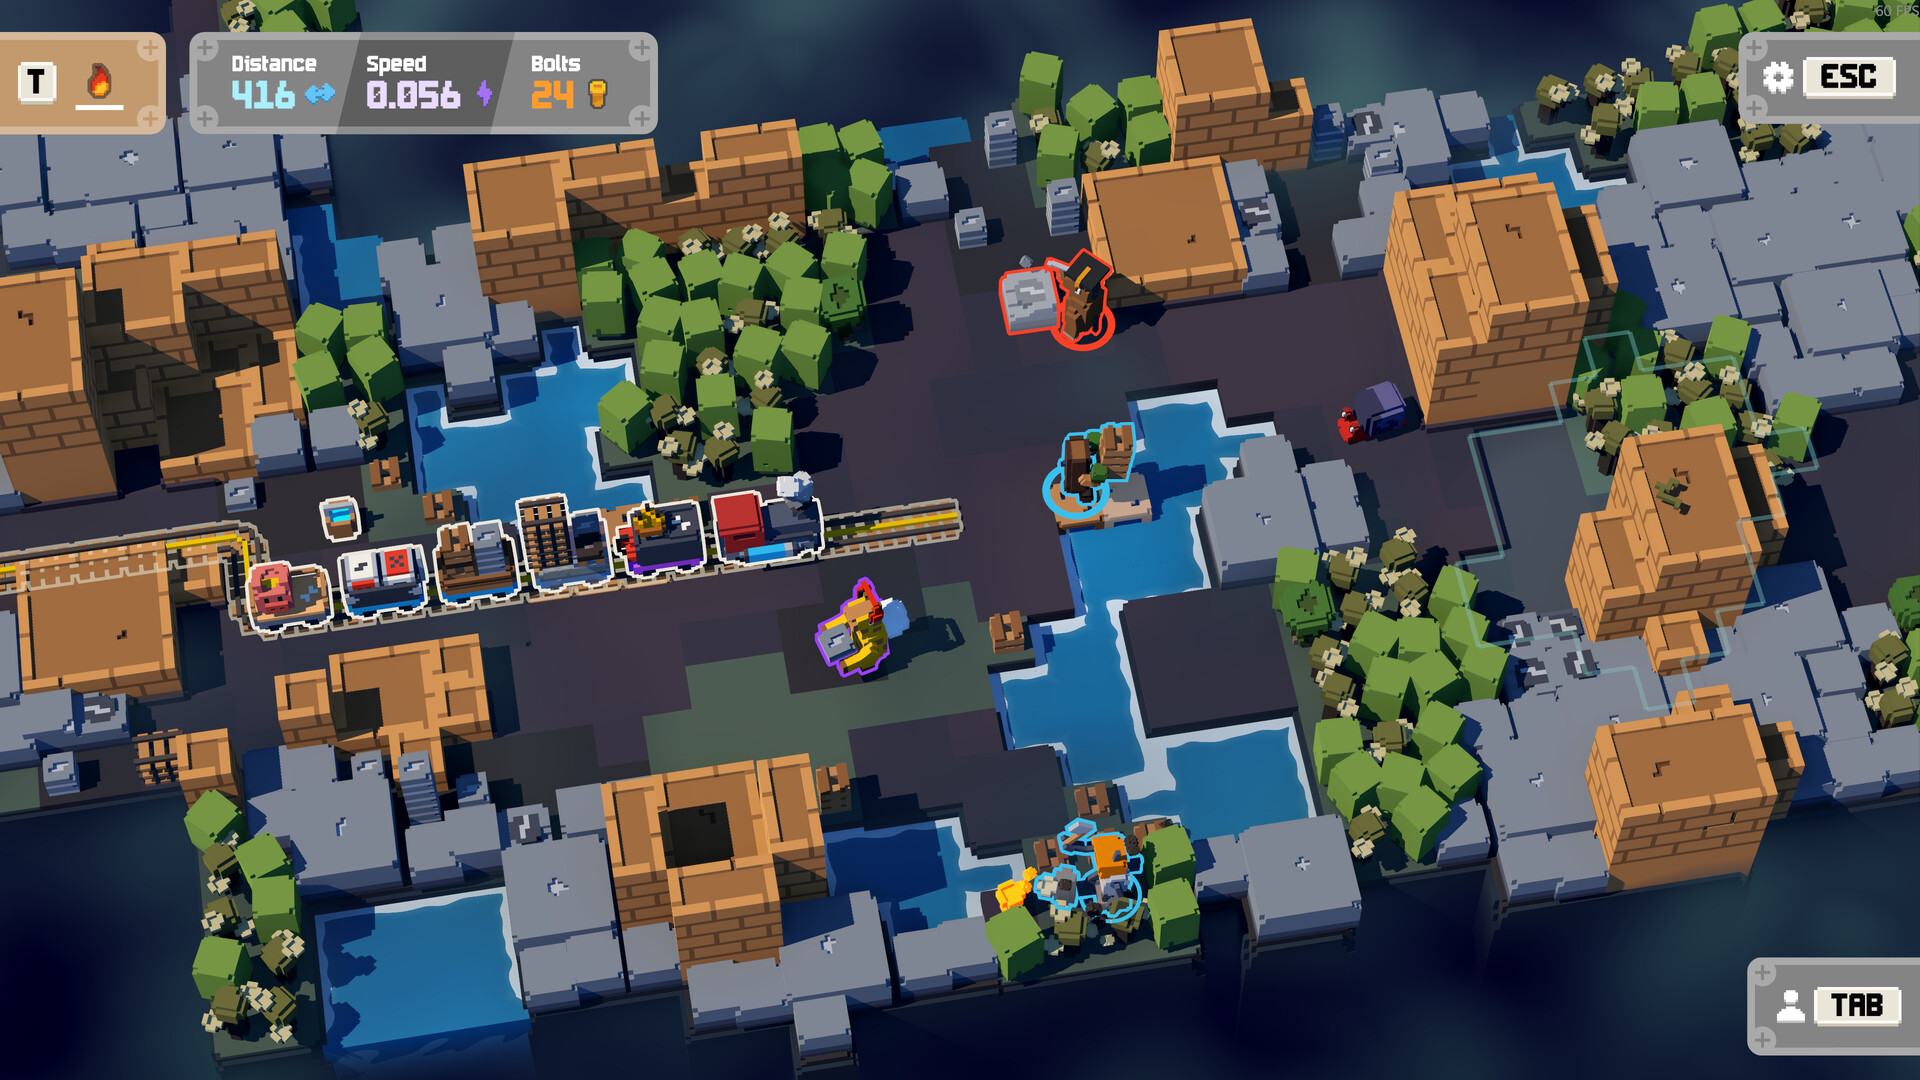
Building a railroad ahead of a moving train while the forest burns around you is the baseline chaos of Unrailed 2: Back on Track. Indoor Astronaut’s 2026 sequel takes the frantic co-op foundation of the original and layers it with procedurally generated biomes, boss fights like the Mothermimic, and a sprawling progression mechanic known as the Cartridge system. Gone are the days of simply upgrading your wagons and hoping for the best. Now, your individual character build dictates whether your crew derails in the Bayou or pushes past the six-digit distance mark in endless mode.

For players looking to dominate the leaderboards or just survive the Loco Labyrinth without screaming at their friends, understanding the Cartridge system is non-negotiable. This is not a game where you can pick abilities at random. Every slot matters. Here is the definitive breakdown of every cartridge in Unrailed 2, what they do, and exactly which ones you need to prioritize.
The Anatomy of a Cartridge
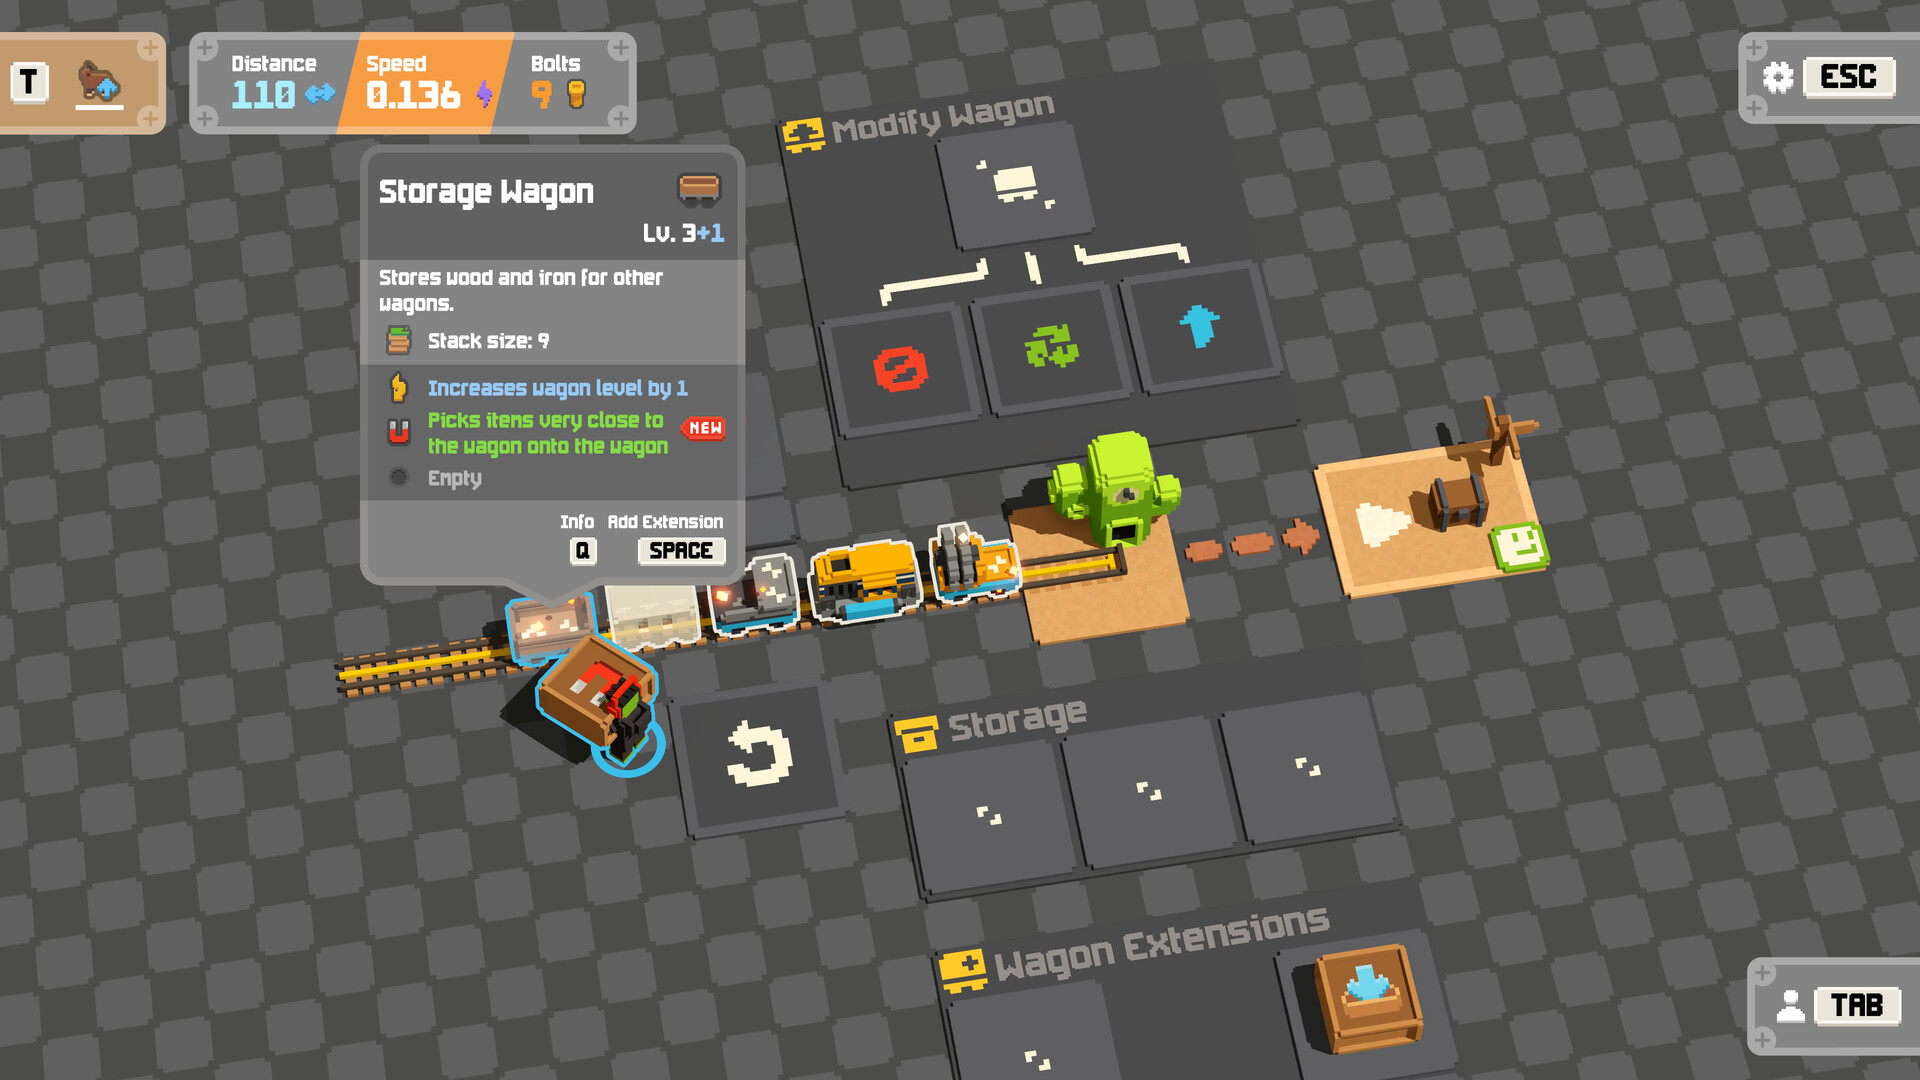
Cartridges are equippable modifiers that fundamentally alter how your character interacts with the world. You begin a run with three empty slots. In the main lobby, you spend Hexnuts—the persistent currency earned by playing—to permanently unlock cartridges for your starting loadout. Unlocking a cartridge is a two-step financial drain: you must first pay Hexnuts to drill a compartment, and then pay again to purchase the cartridge itself.
During a run, your build expands. You acquire new cartridges by visiting the Cartridge Vault, surviving boss encounters at the Biome Junction, or gambling at the Cartridge Toaster Wagon. Cartridges fall into two strict categories: Passives, which stack their effects indefinitely, and Action Cartridges, which grant an active ability but are limited to one type per player. Understanding this limitation is the first step toward high-level play. If you hoard Action Cartridges, you are wasting slots. If you ignore Passives, you will simply lack the mathematical output to keep up with the train’s accelerating speed.
Top Tier Passives: What to Stack
Passive cartridges are the engine of your build. Because their effects multiply with each duplicate you equip, identifying the mathematically superior Passives early in a run dictates your survival.

"Magnet" is universally considered the single most important passive for beginners and veterans alike. At base level, it auto-collects dropped resources within a 2-meter radius. Every subsequent stack expands this radius. When you are rushing to build a bridge across a river, not having to manually walk over every piece of chopped wood saves critical seconds. "Multi Tool" is the ultimate safety net, allowing you to mine iron with an axe or chop wood with a pickaxe at half speed. It prevents the notorious bottleneck where the one player holding the pickaxe is trapped on the wrong side of the map.
For dedicated resource gatherers, stacking "Turbo-Axe" or "Turbo-Pickaxe" to level 5+ is mandatory. These drastically reduce the time it takes to break resource nodes. "Super Strength" increases your carrying capacity and throwing distance, but data miners have noted it caps out at around 7 stacks for a maximum 105% power boost—do not waste slots stacking it beyond 8.
Then there is the late-game economy breaker: "Lucky Punch". On its own, it slightly tweaks RNG. But if you manage to stack it to 20+, it reduces the chance of rolling mismatched dice on the Slot Machine Wagon down to 0%. This guarantees a hyper-productive output of premium items, effectively breaking the game’s resource economy in your favor.
Action Cartridges: The Heavy Hitters
Action Cartridges require manual activation and dictate your specific role in emergency situations. Because you can only hold one, your choice here defines your identity on the team.
"Ghost" is the premier mobility tool. Activating it allows you to phase directly through solid terrain and the train itself. When the Spectral Express or a poorly placed Piggybank Boxcar blocks your path, Ghost prevents a run-ending traffic jam. "Power Stamp" is the aggressive alternative, letting you instantly crush surrounding resources in an area of effect to clear a path when you don't have time to swing a tool.
"Throwing" completely changes the game's logistics. Instead of running materials back to the Crafter wagon, you can toss them across the map. A skilled thrower can supply the crafting table from a screen away. Finally, "Saddles" allows you to mount the local wildlife—like camels in the desert or pigs in the meadows—granting a massive movement speed boost. While highly situational, Saddles can save a run when the train is moving at maximum velocity and you need to transport rails across a massive gap.
Role-Based Loadouts for 4-Player Co-op
Unrailed 2 is balanced around 4-player co-op, which means generalist builds fail in the late game. You must divide into a Resource Team and a Rail Team.
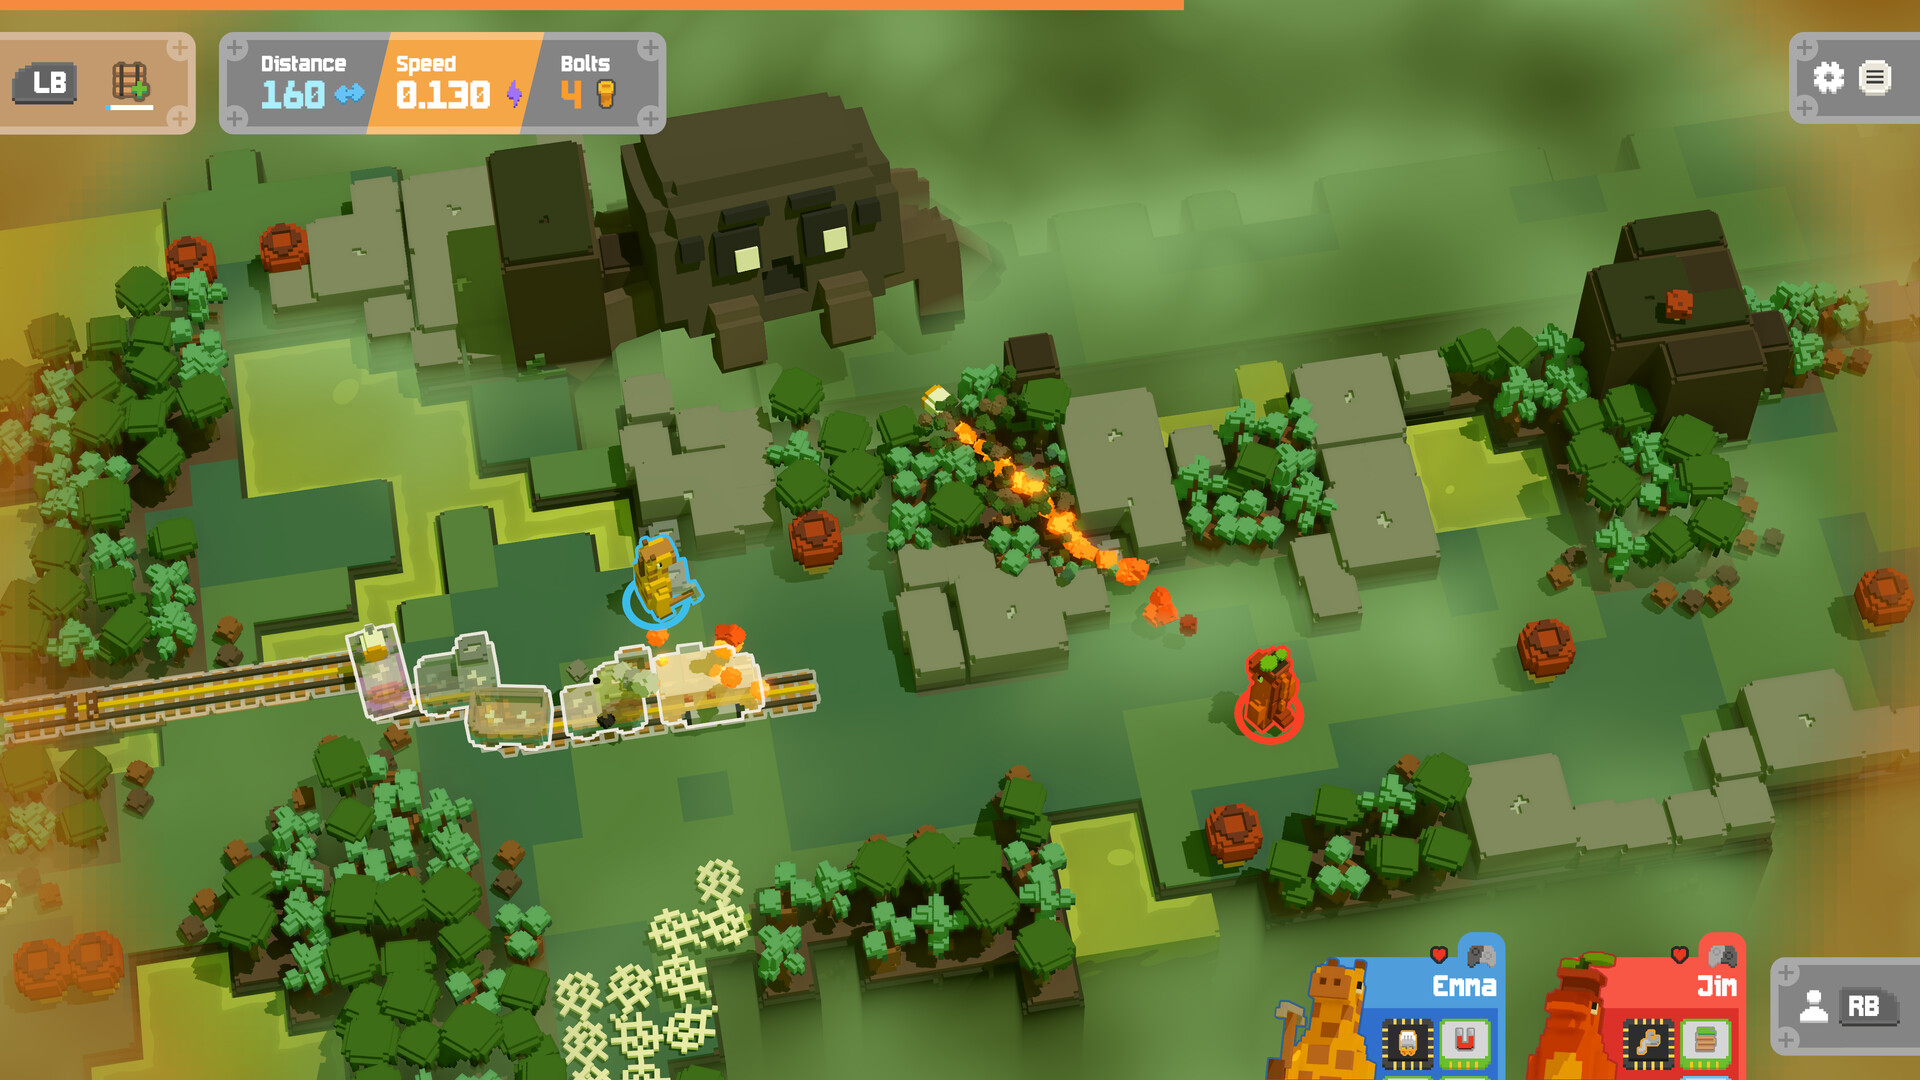
The Resource Team is responsible for clearing the map and generating raw materials. Their loadout should prioritize "Brute Force 5+" and "Running 5+". Brute Force ensures that even the densest iron deposits shatter instantly, while Running mitigates the movement penalty of carrying heavy stacks. Their Action Cartridge should ideally be Power Stamp or Saddles, allowing them to rapidly reposition and clear space.
The Rail Team stays near the locomotive, feeding the Crafter wagon and laying the tracks. This team requires "Stacking" to hold more rails at once, "Magnet" to catch the materials being thrown by the Resource Team, and "Dash Demolition" to instantly destroy accidentally placed tracks. If your crew is running the Toy Engine in endless mode, the Rail Team’s ability to pull from the Crafter without moving back and forth is the only way to survive past the 1,900-meter mark. Efficiency here is measured in fractions of a second.
Wagon Synergies and Cartridge Combos
Cartridges do not exist in a vacuum; their true potential is unlocked when paired with specific train wagons. The Turret Wagon is a prime example. In the early game, the Turret automatically fires at nearby resources, breaking them down slowly. However, if a player equips the Throwing action cartridge alongside Magnet 3+, they can stand near the Turret, catch the auto-mined resources mid-air, and instantly launch them directly into the Crafter Wagon. This creates an automated supply chain that requires zero walking.
Another game-breaking synergy involves the Carriage Wagon, which applies a front-pull buff to the train. If you place the Carriage directly behind your Crafter, it allows the Crafter to stack two massive piles of rails simultaneously. When a player on the Rail Team equips Stacking 5+ and Dash Demolition, they can scoop up 20+ rails in a single motion, sprinting ahead of the train to build a massive buffer. This specific combo is what makes extreme difficulty levels and late-game boss fights feel entirely manageable.
Furthermore, the Milk Wagon introduces temporary buffs that stack multiplicatively with your cartridges. Drinking Deer Milk grants a temporary burst of Super Strength. If a player already has 7 stacks of the Super Strength passive, the milk buff pushes their carrying capacity into the stratosphere, allowing them to carry enough raw materials to fund an entire biome's worth of tracks in one trip.
Managing the Hexnut Economy and Upgrades
Acquiring the perfect build requires exploiting the game's swapping and upgrading mechanics. You will inevitably pick up garbage cartridges from crates. Do not throw them away. "Empty Cartridges" and low-tier passives get priority in the Cartridge Overwriter station. You can feed these useless items into the Overwriter to reroll them into high-tier options.
When transitioning between biomes, you will enter the Biome Junction. This is the only reliable place to hunt for Action Cartridges. If your Rail Team leader hasn't found Ghost yet, the Biome Junction is where you spend your resources to find it.
Boss fights also play a massive role in your economy. Defeating the Head of the United Railway Division or surviving the Spiderqueen in the Boxcar Bayou drops premium rewards that accelerate your build. The game runs on a pseudo-RNG system; if you keep the difficulty consistent, the map generation follows predictable rules. High-level players use this to memorize where the Cartridge Vaults are likely to spawn, allowing them to path their train directly toward the upgrades they need. For the truly elite, optimizing this economy is what earns Record Breaker Crowns. Placing at the top of the global leaderboards awards the golden crown hat, while top 3 and top 10 secure silver and bronze. You don't get these crowns by playing casually; you get them by exploiting the Cartridge Overwriter and knowing that Empty Cartridges are simply currency waiting to be converted.
Closing Take
The beauty of Unrailed 2 lies in its friction. It is a game that constantly tries to rip your carefully planned strategies apart with a sudden laser beam or a herd of stampeding animals. The Cartridge system is your only defense against that chaos. By specializing your roles, respecting the Hexnut economy, and knowing exactly when to stop stacking Super Strength, you transform your crew from a panicked mob into a highly efficient, track-laying machine. Prioritize your passives, choose your action cartridge wisely, and never leave your pickaxe on the wrong side of the tracks.
Sources
- Indoor Astronaut Developer Updates & Early Access Patch Notes (2025-2026)
- Unrailed 2: Back on Track Community Tier Lists and Endless Mode Strategies
- GameFAQs Achievement Guides for Unrailed 2